
Accent wall design
Staircase accent wall planning
A stair wall is seen from several positions: the entry, the first step, a landing and the upper floor. Share those views so the composition can make sense along the route, rather than only in one photograph.
This page covers decorative wall planning. Changes to the stairs, handrails, guards or structural elements are a separate scope.
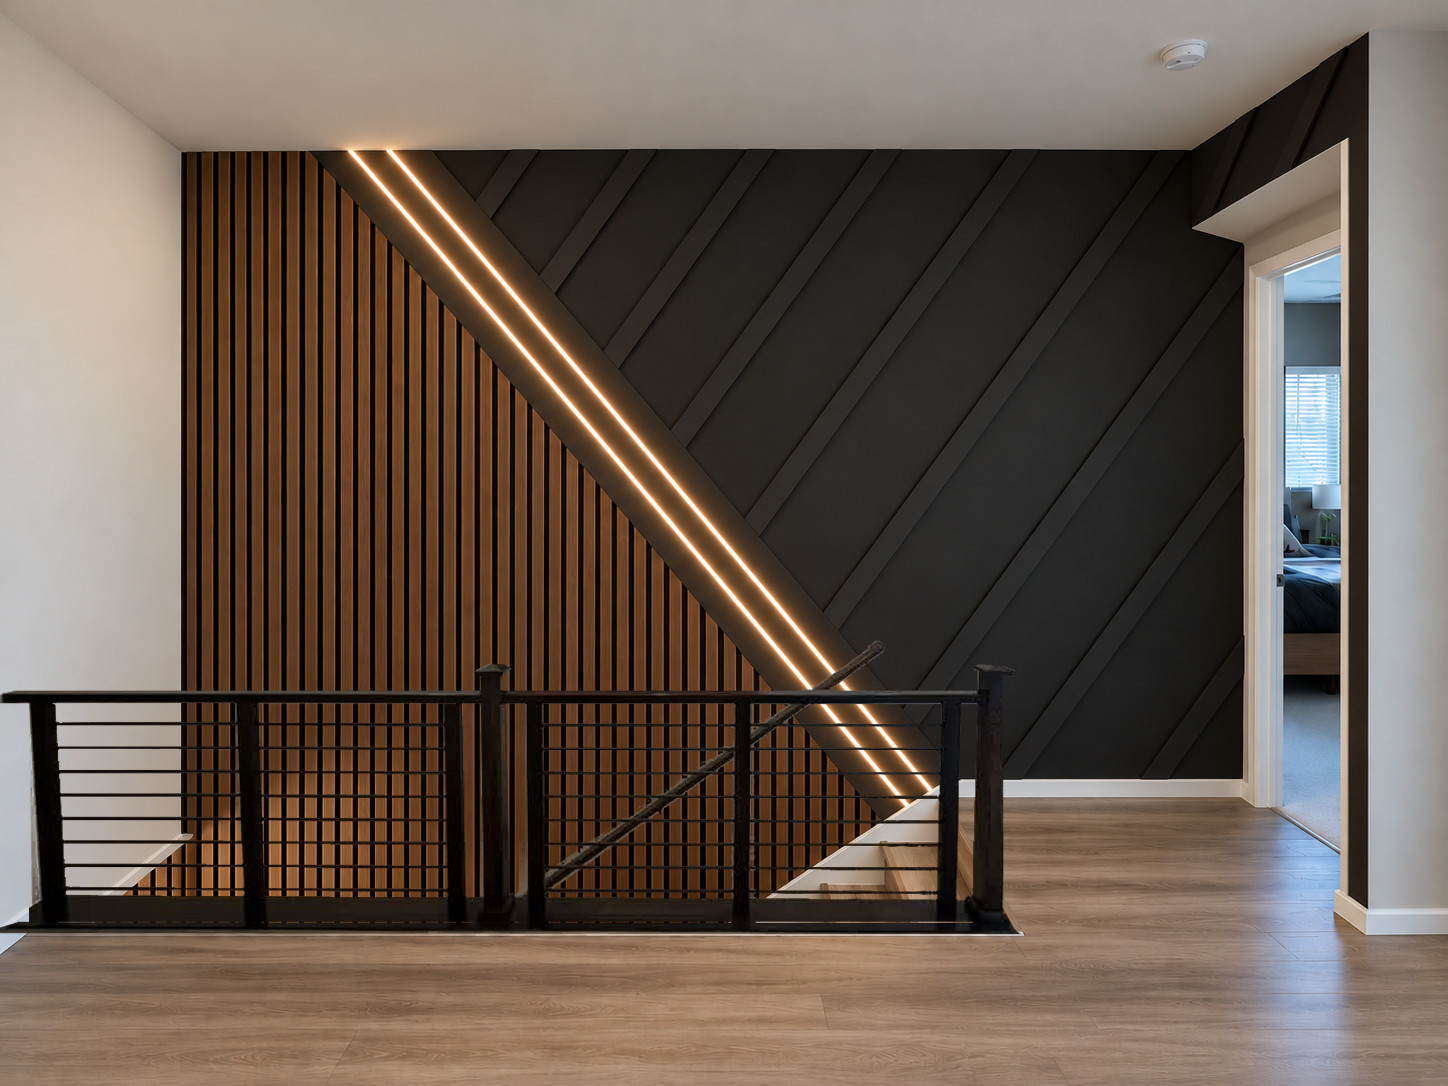
Pick the line you want to follow.
Full-height coverage
Consider how the pattern meets the ceiling and continues past a landing. A wall with changing height needs a clear boundary at each end.
A section that follows the stairs
Compare a rising edge with a level termination at the landing. Show the existing rail and trim so the proposed shape can be considered alongside them.
A focused area at the landing
An upper or lower landing may provide a smaller starting point. Include doors, artwork and nearby rooms in the photos; the wall remains part of the circulation space.
Keep the existing staircase visible in the plan.
Show the handrail, brackets, switches, lights, doors and any changes in wall depth. Identify what stays. Avoid assuming that decorative panels can replace a guard, alter a rail or cover an access point.
If the idea affects those elements, the responsibilities and suitability need a separate, site-specific review before work is agreed. No railing, structural or electrical work is promised by this planning page.
Compare the finish across both levels.
Bring the stair tread or flooring color into the discussion. Compare the wall finish with the rail and the rooms visible from the stairs. A wood slat direction and a painted geometric pattern will create different relationships with those existing lines.
Check physical finish samples in the actual stairwell light. Our color-selection guide provides a simple comparison process.
A few things to know.
How do I photograph a tall stair wall?
Take wider views from safe floor or landing positions. Do not lean over a rail or stand on furniture to reach a better angle. Mark any missing view or unknown measurement; you can start with incomplete information.
Do I need to measure the highest point?
No. Send approximate dimensions you can obtain safely and label anything uncertain. The measurement checklist explains what is useful for an initial review. Final dimensions need confirmation before material quantities or fabrication are settled.
Start with the staircase you have.
Send your city and one detail you want to change. Photos are optional; include the views you can capture safely if you have them. Your first estimate is preliminary and subject to a design, material and scope review.